Here’s the strange thing about dill: it will happily seed itself into a crack in your driveway, yet sulk in the tidy, well-watered bed you prepared just for it.
Plenty of gardeners water it daily, fuss over it, and still end up with a lonely stalk that flowers when it’s barely taller than a pencil.
Meanwhile the neighbor who ignored a stray seedling is drowning in feathery fronds. Dill isn’t difficult, but it is particular about a few things, and most of them come down to timing and restraint.
This guide walks you through when to plant for your climate, how to sow so the seeds actually come up, how to keep leaves coming for weeks, and how to work with bolting instead of losing to it.
Master those, and dill becomes one of the most generous herbs you’ll grow.
Dill at a Glance
If you only skim one thing before you grab a seed packet, make it this cheat sheet.
| Type | Annual herb (carrot family); grown fresh each season |
| Light | Full sun, 6–8 hours; light afternoon shade helps in heat |
| Soil | Loose, well-draining, moderately fertile; pH about 6.0–7.0 |
| Sowing | Direct-sow ¼ inch deep or less — seeds need light |
| Germination | 10–14 days at a soil temp of 60–70°F |
| First leaves to pick | Roughly 6–8 weeks after sowing |
| Biggest challenge | Bolting (early flowering) once it turns hot |
| Best fix | Right timing, steady moisture, and frequent snipping |
Meet Dill: The Herb That Wants to Be a Weed
Dill (Anethum graveolens) belongs to the same family as carrots, parsley, fennel, and celery.
That family tie explains a lot about how it behaves: it sends down a long, carrot-like taproot, it grows tall on hollow stems, and it crowns itself with flat, lacy flower clusters called umbels.
Those cheerful yellow umbrellas are butterfly and bee magnets, which is half the reason many people tuck dill among their vegetables in the first place.

You’ll see dill sold as an annual, and that’s how to treat it. In a single season it sprouts, leafs out, flowers, drops seed, and calls it a life.
A few seed catalogs label it a biennial or short-lived perennial because in mild-winter regions the root can survive to a second year — but an overwintered plant tends to rush straight to flower with weak-flavored leaves, so there’s little reason to nurse one along.
When people say dill “comes back every year,” what they really mean is that it reseeds itself. The parent plant dies; its children pop up nearby next spring.
One bit of naming can trip you up at the grocery store and the seed rack alike.
- “Dill weed” is just the soft, feathery foliage, best used fresh.
- “Dill seed” is the dried seed from those spent flowers, and it carries a warmer, more caraway-like punch.
The flowers and even the young stems are edible too. So a single plant hands you three different flavors at three different stages, which is a lot of value from one modest seed.
Timing Is Everything, Especially If Your Summers Are Hot
The most common dill mistake isn’t bad soil or too little water. It’s planting at the wrong moment. Dill is a cool-season herb at heart.
It germinates and bulks up in mild weather, then flips into flower-and-seed mode when the days grow long and the thermometer climbs past the high 70s.
Plant it just as summer heat arrives and it may bolt before you get a decent handful of leaves.
So match your planting to your climate rather than to a generic calendar:
Cold and cool climates (frosty winters, mild summers)
- Sow outdoors as the soil warms to about 50°F, which usually lands a couple of weeks ahead of your final frost. Dill shrugs off a light chill.
- Sow a fresh short row every 2–3 weeks into early summer so a young, leafy batch is always coming on.
- You can try an early-fall sowing, but the first hard freeze will end it.
Hot and dry climates (mild winters, scorching summers)
- Flip the calendar: plant in fall and winter while temperatures are pleasant.
- In low-desert areas, roughly October through January is the sweet spot.
- Expect plants to bolt as late-spring heat sets in, so start early and keep succession sowing every 3 weeks.
If you’re ever unsure, use your frost date as an anchor: sow a few weeks before the last spring frost in cooler regions, or once fall temperatures dip below about 80°F in hot ones.
That single adjustment fixes more dill disappointments than any fancy fertilizer ever will.
Planting Dill So It Actually Comes Up
Poor germination is one of the quietest dill frustrations — you scatter seed, wait, and almost nothing appears. It’s rarely bad luck.
Dill seeds need a little light to sprout and dry out easily, so two habits sink most sowings: burying the seed too deep, and letting the surface bake dry during the germination window.

Here’s a sowing routine that avoids both traps:
- Pick a sunny, sheltered spot with loose, well-draining soil. Work in a little compost, but don’t overdo the richness — dill prefers a leaner bed.
- Sow seeds no deeper than ¼ inch; a bare scattering pressed lightly into the surface is even better. Cover with the thinnest veil of soil so light can still reach them.
- Water gently and keep the top inch consistently moist — never bone-dry — until seedlings appear, usually in 10–14 days.
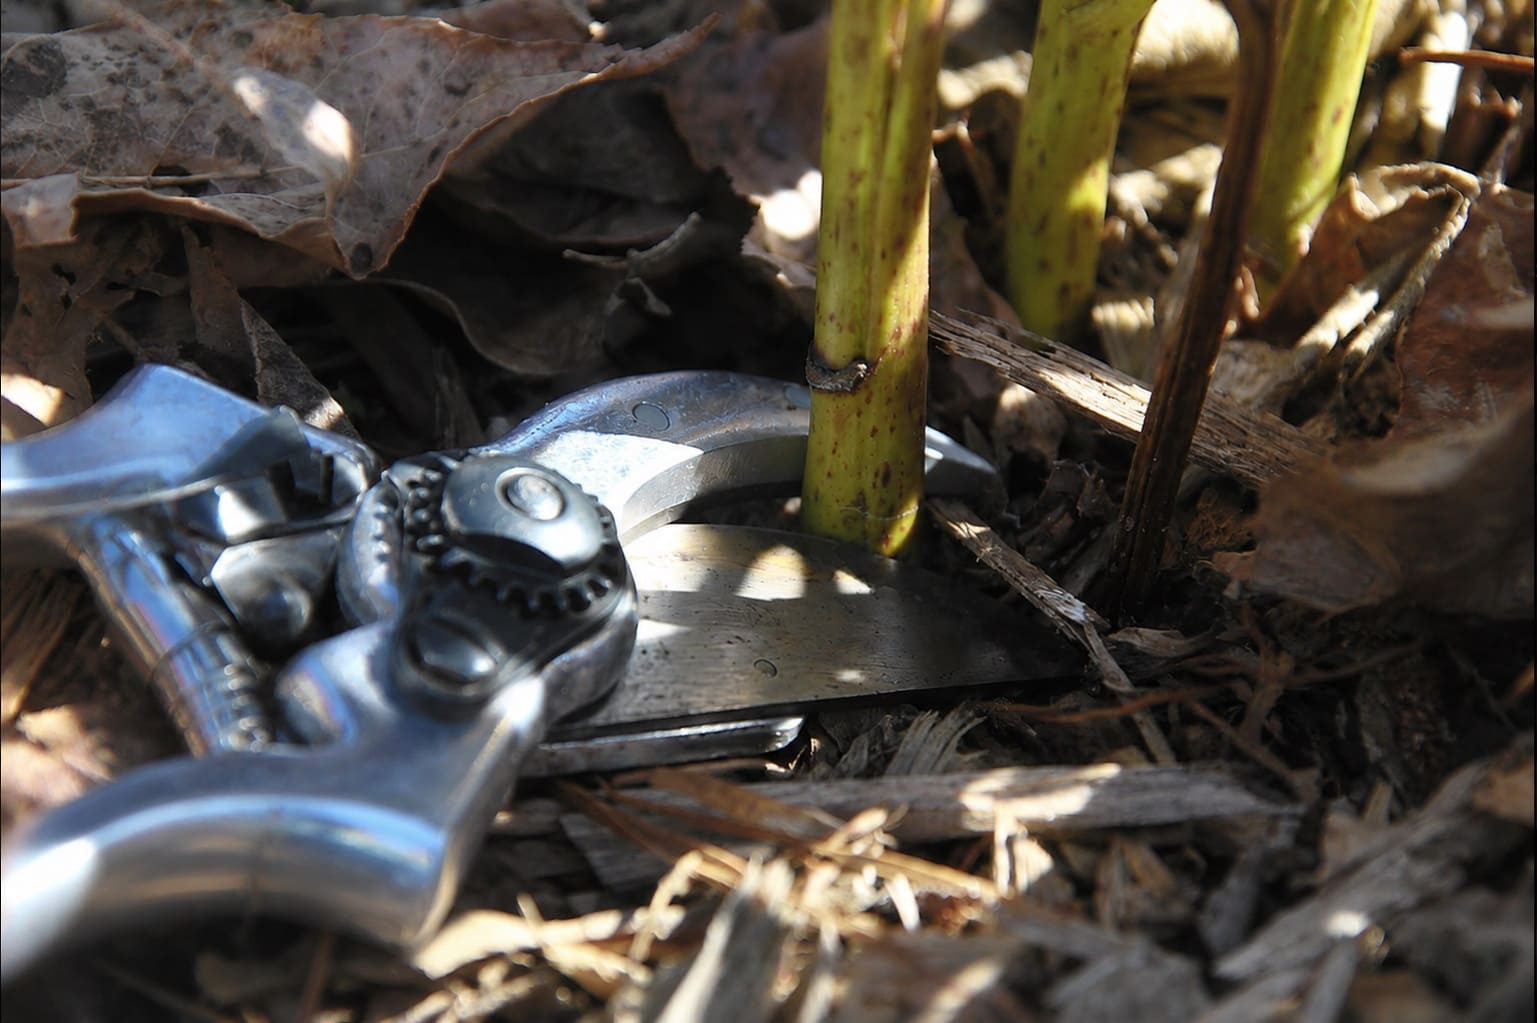
- When seedlings have a few real leaves, thin them so plants stand about 10–12 inches apart. Snip the extras at soil level rather than pulling, which spares the neighbors’ roots.

Success looks like a flush of thread-thin seedlings within two weeks.
If nothing shows after three, the usual suspects are seed planted too deep, soil that dried out, seed more than about 3 years old, or a potting mix so rich and dense it crusted over the top. Fresh seed and a lighter, sandier surface fix it.
Why direct-sow instead of buying transplants? That long taproot resents being moved. Disturb it and the plant often answers by bolting out of spite.
If you must start indoors, use deep cells or peat pots, and transplant while seedlings are young — before the taproot hits the bottom — then handle the root ball like it’s made of glass.
Growing Dill in Pots and Containers

Dill grows well in a container as long as you respect the taproot. Depth matters far more than width.
Choose a pot at least 12 inches deep — deeper is better for the tall types — with drainage holes, and fill it with a free-draining potting mix. Sow directly into the final pot so you never have to transplant.
Container dill dries out faster than a garden bed, so check moisture daily in warm weather, and give it a light feeding now and then, since frequent watering flushes nutrients out the bottom.
How Close Should You Space Plants?
Spacing advice is all over the map, from a cramped 6 inches to a roomy 18. Both camps are right, because it depends on your goal.
About 10–12 inches gives each plant room to grow full and bushy with the airflow that fends off mildew. But dill grows tall and tippy, and a lone plant flops in the wind.
Growing several in a close clump lets the stems brace one another, and it hands you more total leaves from a small footprint.
The trade-off with a tight clump is that leaves grow mostly on the sunny outer sides, and crowded plants that are never harvested tend to bolt sooner. So if you plant close, commit to snipping often.

My rule of thumb: space for individual, robust plants if you have room, and clump on purpose if you’re short on space or fighting wind — just plan to harvest hard.
Day-to-Day Care: Water, Food, and Staying Upright
Once it’s up, dill asks for surprisingly little.
The trick is knowing where “little” ends, because the three most common care questions — how much to water, whether to feed, and how to stop the flopping — all have answers that sound contradictory until you see the logic.
Watering: steady, not soggy
You’ll read that dill is a drought-tolerant Mediterranean plant and, elsewhere, that you must keep it constantly moist.
The reality sits in between and shifts with age. Young seedlings, still building that taproot, want consistently moist soil.
Once established, dill handles a bit of dryness — but real drought stress is one of the triggers that makes it bolt.
On the other end, soggy soil rots the roots and invites mildew. Aim for roughly an inch of water a week, soak deeply, let the top inch dry between waterings, and try to keep water off the foliage.
That’s the whole secret behind the neglected volunteer that outgrows the pampered seedling: it never sat waterlogged, and its roots were never disturbed.
Feeding: less is more
Dill is a light feeder, and here restraint genuinely tastes better.
If you enriched the bed with compost at planting, it likely needs nothing else all season — in fact, keeping the soil a touch lean concentrates the aromatic oils that give dill its flavor.
Pile on nitrogen and you’ll get tall, floppy, watery growth instead.
Containers are the one fair exception: a diluted liquid feed every few weeks makes up for nutrients that wash out with regular watering.
Support and a note on soil pH
Those hollow stems can climb past 3 feet and topple in a gust, especially once heavy seed heads form.
Slip a thin stake or a few twiggy branches in early, plant in a wind-sheltered spot, or lean on the clump strategy above.
As for pH, don’t lose sleep over it. Sources quote anywhere from 5.5 to 7.0 because dill is genuinely adaptable; somewhere around 6.0 to 7.0 is ideal, and most garden soil is close enough.
Only reach for a test kit if your plants are visibly struggling.
The Bolting Problem — and How to Stay Ahead of It
If dill breaks your heart, this is usually where. Bolting is the moment the plant stops making leaves and throws up a flower stalk instead.
The fronds turn sparse and lose their punch, and it can happen when the plant is startlingly small.
Nearly every dill grower has a season like this: you set out the seed early, feeling clever, and a few weeks later a barely ankle-high plant unfurls a flower head like it has somewhere better to be.
It hasn’t failed you, exactly — it’s just following an old instinct to make seed before the heat wins. Once you stop taking it personally, dill gets a lot easier to grow.
Why Dill Bolts
Dill bolts faster than you’d like for a handful of reasons:
- Heat — the big one. Temperatures much above 80°F flip the switch.
- Long days — lengthening summer daylight signals the plant to reproduce.
- Transplant shock — a disturbed taproot often responds by bolting.
- Drought stress — letting the soil go dry can hurry flowering.
- Crowding without harvest — stressed, unpicked plants give up sooner.
How to Delay It and Keep Picking
You can’t cancel bolting, but you can delay it and stretch your leaf harvest:
- Plant in the cool shoulders of the year — spring or fall — for your climate.
- Choose slow-to-bolt varieties (more on those below).
- Succession-sow every 2–3 weeks so a fresh batch is always in its leafy prime.
- Direct-sow to skip transplant stress, and keep moisture steady.
- Harvest from the top often; pinching the growing tips both bushes the plant out and postpones flowering.
- In warm regions, give plants a little afternoon shade.
Here’s the reframe that changes everything: a bolting plant isn’t a loss, it’s a transition.
Let a few go and you’re rewarded with pollinator-friendly flowers, seed heads for pickling and cooking, and free volunteers next season.

The smart move is to keep sowing new plants for leaves while letting your oldest ones flower on purpose.
Slow-to-Bolt and Best-Use Varieties
Variety choice quietly does a lot of the work. If you’re chasing leaves, lean toward the late-flowering types; if you’re after big seed heads for pickling, the vigorous bloomers are your friends.
- For a long leaf season (slow to bolt): ‘Fernleaf’ (compact, great in pots), ‘Dukat’, ‘Tetra’, ‘Thalia’, and ‘Vierling’.
- For pickling and abundant seed: ‘Bouquet’, ‘Mammoth’, and ‘Long Island Mammoth’.
- For containers and small spaces: compact picks like ‘Fernleaf’, ‘Dukat’, or ‘Domino’.
Harvesting Leaves, Flowers, and Seeds
You can start snipping leaves once a plant has 4–5 feathery sprigs, often around 6–8 inches tall.
The flavor peaks just before the flowers open, and it’s brightest first thing in the morning, so that’s prime picking time.

A few habits keep the plant productive:
- Take no more than about a third of the plant at once so it can recover.
- Cut or pinch from the top, just above a set of leaves — this pushes bushy new growth and buys you time before bolting.
- Remember that a bare stem cut below all its foliage won’t regrow, so always leave some fronds behind on each stem you trim.

For seeds, patience pays. Let the flowers fade and the seed heads ripen from green to tan-brown on the plant.
Snip the whole head into a paper bag, hang it somewhere warm and airy for a week or two, then shake — the dried seeds drop to the bottom.
Catch them just as they brown if you’d rather they didn’t reseed your whole bed. Stored dry and dark, dill seed keeps its flavor and its ability to sprout for about 3 years.
Pests, Diseases, and the Caterpillars to Welcome
Dill is close to trouble-free, and it actually earns its keep by luring in ladybugs, lacewings, hoverflies, and tiny parasitic wasps that hunt the pests bothering the rest of your garden.
The few issues that do crop up are easy to head off:
- Aphids: the most likely visitor. Blast them off with a jet of water or use insecticidal soap. Flowering dill often summons ladybugs that clear them for you.
- Powdery or downy mildew: usually a sign of crowding, damp foliage, or overwatering. Improve airflow, water at the soil line, and remove affected leaves.
- Damping-off: seedlings rot at the base in cold, soggy conditions. Use a free-draining mix, add a little sharp sand, and don’t overwater.
- Slugs and snails: they nibble tender seedlings. Hand-pick in the evening or use simple traps.
Then there’s the striped caterpillar you’ll eventually find munching your fronds. Before you reach for anything, look closer — that’s almost certainly a black swallowtail caterpillar, and dill is one of its favorite nurseries.

It’s a small rite of passage: you go out to cut dill for dinner and find a fat, green-and-black-banded caterpillar has beaten you to it.
The gardener’s move is not to panic but to plant a little extra on purpose — a few plants for the kitchen, a few for the butterflies.
Weeks later, when a swallowtail drifts through the yard, that shared dill feels like the best trade you ever made.
Dill’s Best and Worst Garden Neighbors
That knack for pulling in good bugs also makes dill a useful neighbor in a mixed bed — as long as you pair it wisely.
Dill tends to earn its keep next to:
- Brassicas like cabbage, broccoli, and Brussels sprouts, where its strong scent helps throw cabbage worms and loopers off the trail.
- Cucumbers, a natural match since both enjoy the same weather. Many gardeners sow dill a couple of weeks ahead of their pickling cucumbers so the leaves, flowers, and cucumbers all peak together and land in the same jar.
- Onions, lettuce, corn, and asparagus, which benefit from the pollinators and pest-hunters those flowers bring in.
The neighbors to avoid are, ironically, some of dill’s own carrot-family relatives. Keep it well away from carrots and fennel: they can cross-pollinate or blur each other’s flavor, and dill can stunt carrots outright.
Tomatoes are a special case — young dill can actually help by luring hornworms away, but a large, mature plant starts to compete, so keep any dill sharing a tomato bed well trimmed.
 Explore 55 Best Eggplant Companion Plants for Bigger Harvests (Plus What to Avoid)
Keeping and Using Your Harvest
Fresh dill is fleeting — it wilts within days and, unlike woody herbs, it loses much of its character when air-dried. So use it fast, or preserve it in a way that protects the flavor:
- Refrigerate: stand stems in a jar of water, or wrap them in a damp paper towel inside a bag, and they’ll hold for a week or so.
- Freeze: chop the fronds into ice-cube trays topped with water or oil, then pop the cubes straight into soups and sauces later.
- Freeze-dry: the best route for long-term storage if you have the gear — it keeps far more flavor than dehydrating.
- Save the seed: store it airtight and dark for cooking or next year’s sowing.

In the kitchen, fresh dill loves fish, eggs, potatoes, cucumbers, yogurt sauces, and, of course, pickles — add it near the end of cooking, since heat scatters its aroma. The seeds go into breads, slaws, and brines.
One handy trick for picklers: whole dill heads freeze beautifully, and many cooks swear the flavor is every bit as good straight from the freezer.
Learn How to Make Crispy Dill Pickles (Refrigerator & Canning Methods)
Frequently Asked Questions
Can I grow dill from a grocery-store bunch or a cutting?
Sometimes, but don’t count on it.
A fresh sprig with a sturdy stem may root if you stand it in a glass of water for a few weeks and then pot it up, yet the method is slow and hit-or-miss because dill so strongly prefers to grow from seed.
Direct-sowing is faster, cheaper, and gives you sturdier plants for the effort.
Why is my dill so thin and scraggly?
A few things cause the sad, wispy look.
Too little sun makes it stretch and lean; thinning down to a single plant leaves you with too few leaves to pick; and, counterintuitively, not harvesting enough keeps it from filling out.
Give it full sun, grow a small clump instead of a loner, and pinch the tops regularly to force bushy growth.
How much dill should I plant for one household?
A rough guide is about 5 plants per person for enough fresh and dried dill to carry you through the year.
Because each plant is short-lived, though, the number matters less than the rhythm: sow a small new batch every couple of weeks so you’re never down to one aging, about-to-flower plant.
Can I still use dill after it flowers?
Yes. The leaves get sparser and milder once flowering starts, but the flowers themselves are edible and pretty in salads, and the developing seed heads are ideal for pickling.
Rather than yank a bolting plant, let it finish — it feeds pollinators and hands you seeds.
Will dill take over my garden?
It can self-seed enthusiastically if you let the heads dry and drop, which many gardeners consider a feature.
If you’d rather keep it contained, simply clip the seed heads before they shatter. Any stray seedlings are shallow-rooted and easy to pull while young.
Your Next Handful of Dill
Dill rewards a light touch more than hard work. Get the timing right for your climate, sow the seed shallow and keep it damp, feed sparingly, and snip from the top early and often.
Do that and you’ll sidestep the classic disappointments — the seeds that never came up, the ankle-high plant that bolted, the lonely stalk with four sad fronds.
Just as important is the shift in mindset: bolting isn’t the enemy, it’s the plant handing you flowers, seeds, and butterflies on its way out.
Keep a fresh batch coming every couple of weeks and let your oldest plants flower, and you’ll have dill — for the kitchen and for the pollinators — from spring right through fall.
So pick your window, scatter a short row this week, and start the cycle. Your future pickles, and a passing swallowtail or two, will thank you.
source https://harvestsavvy.com/dill-growing-guide/


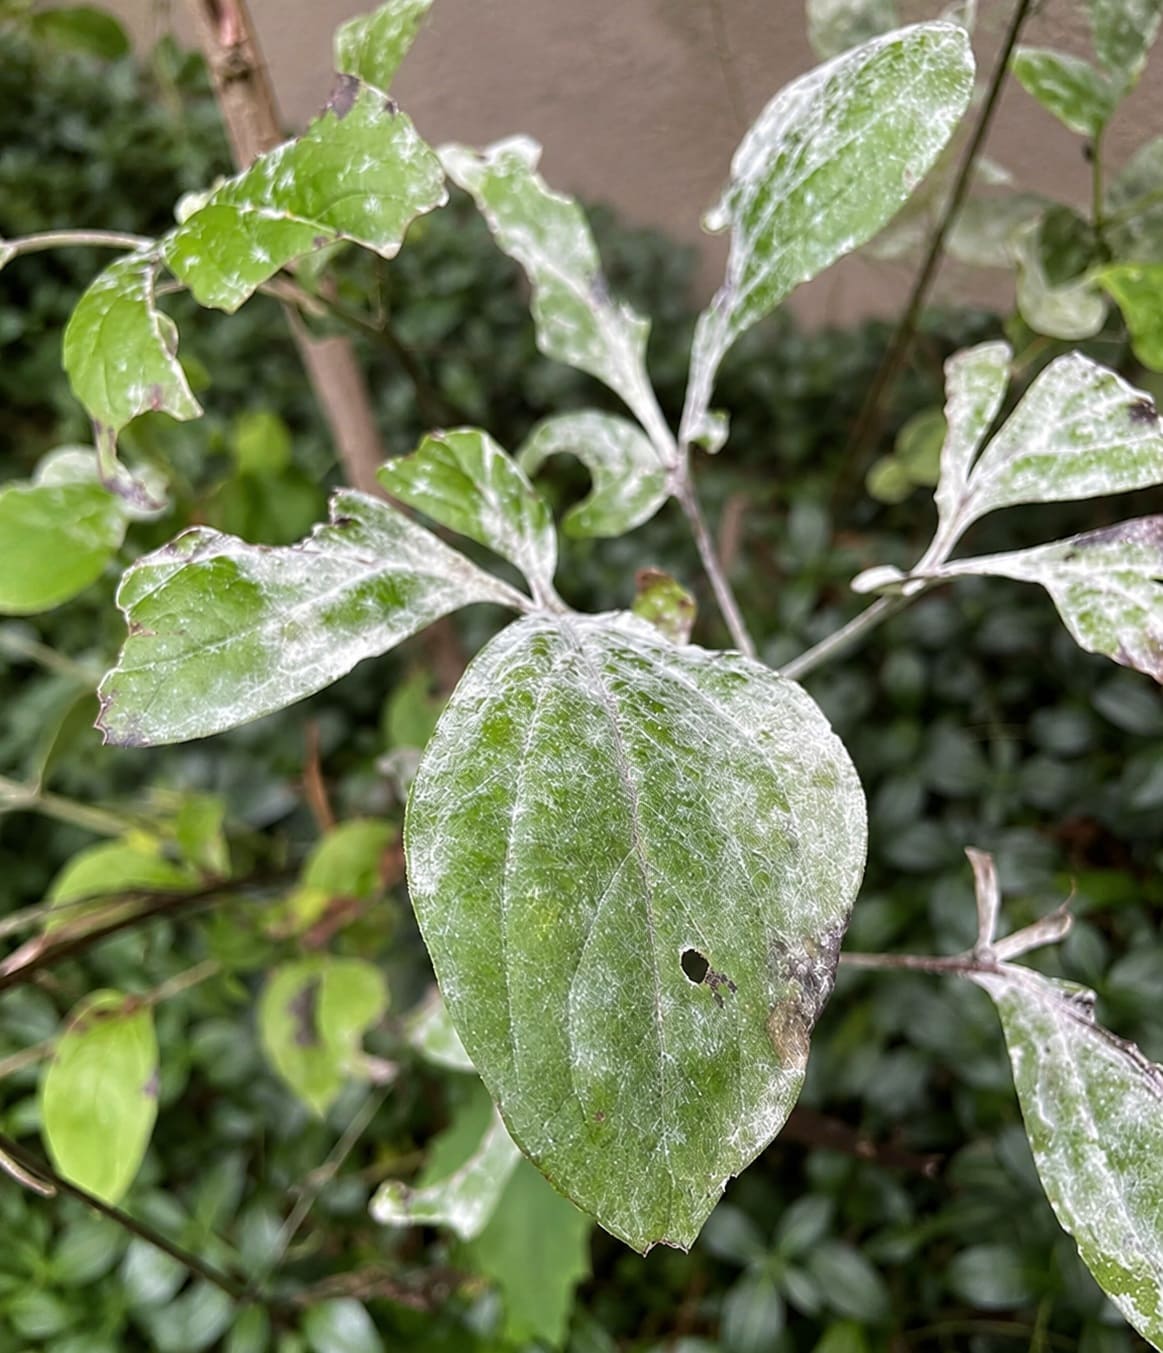 Powdery mildew — a white, dusty coating on the leaves — looks unsightly but rarely harms the plant; full sun and good air circulation keep it in check.


